You wake up on day five, look down at your new tattoo, and your stomach drops. The vibrant ink you left the shop with is now covered in flaky skin, weird white patches, and maybe even some crusty scabs. Your first thought: "Did I ruin it? Is this infected? Did my artist mess up?"
Take a breath. That panic you're feeling? Every single person with a tattoo has felt it. Tattoo peeling and scabbing is not only normal—it's a sign that your body is doing exactly what it should be doing.
But there's a difference between healthy healing and actual problems that need medical attention. This guide breaks down the tattoo healing stages day by day, explains the science behind why tattoos peel, shows you what normal tattoo scabbing looks like versus warning signs, and gives you practical strategies for managing the infamous itch without destroying your ink.
If you're looking for the complete day-by-day aftercare routine that leads up to this peeling phase, check out our complete tattoo aftercare guide which walks you through everything from bandage removal through full healing.
Why Do Tattoos Peel? The Science Behind the Flakes
Understanding what's happening beneath the surface helps ease the anxiety when you see those first flakes.
What Actually Happens to Your Skin
When a tattoo artist works, they're using needles to deposit ink into the dermis—the second layer of your skin. This process creates thousands of tiny puncture wounds. Your body recognizes this as trauma and immediately kicks into healing mode.
The healing process has three phases:
1. Inflammation (Days 1-4): Your immune system sends white blood cells to the area to fight potential infection. You see redness, slight swelling, and plasma oozing. This is the "sealing" phase.
2. Proliferation (Days 4-14): Your body generates new skin cells to replace the damaged ones. The top layer of skin—the epidermis—starts regenerating. As new cells form underneath, the damaged surface layer dies and flakes off. This is the peeling phase.
3. Maturation (Days 14-30+): The deeper layers continue healing and strengthening. The tattoo may look "milky" or dull during this time as the skin fully regenerates.
Why the Peeling Looks Dramatic
Tattoo peeling looks more intense than a typical sunburn peel because:
- The skin was more damaged—tattoo needles penetrate deeper than superficial burns
- Ink particles in the epidermis come off with the dead skin, making the flakes darker or colored
- The area is larger—most tattoos cover more surface area than a typical scrape or burn
The critical thing to remember: The ink in your tattoo sits in the dermis, below the peeling layer. When the epidermis flakes off, it doesn't take the tattoo with it—as long as you don't interfere with the process.
The Normal Peeling Timeline: Days 4-14
Every body heals differently, but most tattoos follow a predictable pattern. Knowing the timeline helps you recognize what's normal versus when something might be wrong.
Days 4-6: The First Flakes Appear
Most tattoos start peeling around day four, though some begin as early as day three or as late as day seven.
What you'll see:
- Small white or translucent flakes around the edges
- The tattoo may look less vibrant—duller or slightly cloudy
- Skin feels tighter, especially after washing
- Slight itchiness begins
What's normal:
- Light flaking that comes off easily when you wash
- Some ink color on your fingers when you wash (excess ink from the surface)
- The tattoo looking "patchy" as some areas peel faster than others
What's NOT normal:
- Thick, heavy scabs covering the tattoo
- Deep cracks in the skin
- Bleeding after day three
- Intense redness spreading outward
Days 7-10: Heavy Peeling Phase
This is when most people panic. The peeling intensifies significantly during the second week.
What you'll see:
- Large flakes of skin coming off
- Sections where the tattoo looks "patchy" with peeled and unpeeled areas
- More intense itching
- Possible light scabbing in shaded or colored areas
What's normal:
- Peeling skin that looks like a bad sunburn
- The tattoo looking significantly duller or "milky"
- Areas that seem to peel in layers—one section, then another
- Flakes that come off on their own or with gentle washing
What's NOT normal:
- Thick, raised scabs that cover large areas
- Yellow or green fluid oozing from the tattoo
- Redness that spreads beyond the tattoo edges
- The tattoo feeling hot to the touch
Days 11-14: Peeling Tapers Off
By the end of week two, most of the heavy peeling has subsided.
What you'll see:
- Minimal flaking, mostly around edges
- The tattoo still looks somewhat dull or cloudy
- Skin feels tighter but less irritated
- Itching decreases significantly
What's normal:
- Small areas that are still finishing peeling
- The tattoo looking "settled" but not fully vibrant yet
- Smooth skin texture returning
At this stage, your tattoo isn't fully healed yet—deeper layers are still repairing—but the surface peeling phase is largely complete. Continue following your complete aftercare routine through the full 4-6 week healing period.
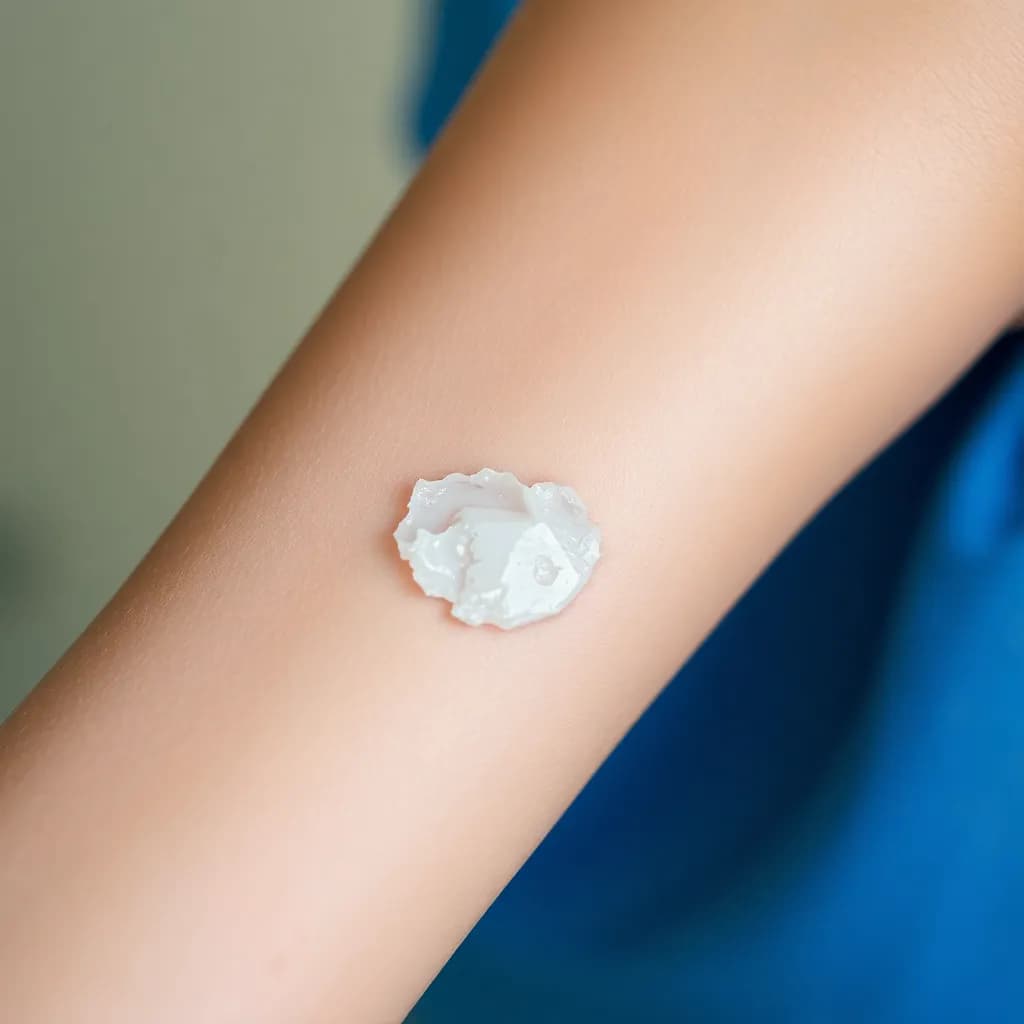
 Tattoo peeling phase
Normal Scabbing vs. Problematic Scabbing
Not all scabs are created equal. Understanding the difference can save your tattoo from permanent damage.
What Normal Tattoo Scabbing Looks Like
Some scabbing is a normal part of the healing process, particularly for:
- Heavy black and grey shading—dense ink deposits take longer to heal
- Large color fills—saturated areas form light crusting
- Tattoos with heavy linework—thick lines can scab slightly
Characteristics of normal scabbing:
- Thin and flat—not raised significantly above the skin
- Brown or dark in color—from dried plasma and ink
- Localized—appears in specific heavy-work areas, not covering the entire tattoo
- Firm but flexible—doesn't feel hard or rigid
- No fluid underneath—dry on both surface and underneath
Normal scabs typically form around days 3-5 and fall off naturally between days 7-14. They may come off during gentle washing or flake away on their own as the skin underneath heals.
What Problematic Scabbing Looks Like
Thick, heavy scabs—or scabs that form incorrectly—can damage your tattoo permanently.
Signs of problematic scabbing:
1. Thick, raised scabs
- Scabs that stand significantly above the skin surface
- Hard, rigid texture—feels like a shell
- Often caused by over-application of ointment or failure to keep the tattoo clean
2. Cracked scabs
- Deep fissures running through the scab
- May bleed slightly when cracked
- Usually from the tattoo drying out too much
3. Puffy or fluid-filled scabs
- Scabs that look swollen or bubble-like
- May have yellow or clear fluid trapped underneath
- Indicates possible infection or allergic reaction
4. Scabs covering the entire tattoo
- While light crusting is normal, a solid scab layer across the whole piece isn't
- Often results from not washing properly or using too much ointment
Why Thick Scabs Are Dangerous
When thick scabs form and then fall off (or get picked off), they often take ink with them from the dermis. This creates "holidays"—light spots or missing sections in your tattoo that require touch-ups.
Thick scabs also increase the risk of scarring. The deeper the wound underneath, the more likely your body will produce scar tissue during healing.
How to Handle Scabs Properly
If you have normal, thin scabs:
- Let them fall off naturally—don't pick or force them
- Continue washing gently; some may come off during washing
- Keep the area lightly moisturized with lotion (not heavy ointment)
- If a scab gets knocked off accidentally, clean the area and apply a thin layer of lotion
If you have thick or problematic scabs:
- Don't pick at them—this will make it worse
- Switch to washing more frequently (3-4 times daily) with gentle soap
- Use less product—switch to a very light, unscented lotion
- Let the tattoo "breathe" more—avoid tight clothing
- Contact your tattoo artist with photos—they may want to see you
- If signs of infection appear, see a doctor immediately
Itch Management: How to Survive Without Scratching
The itching phase of tattoo healing is infamous for a reason—it can be genuinely intense. But scratching a healing tattoo is one of the fastest ways to ruin it.
Why Tattoos Itch So Much
Itching is a normal part of wound healing. As new skin cells form and nerve endings regenerate, they send signals that your brain interprets as itchiness. The process involves:
- Histamine release—part of the inflammatory healing response
- Nerve regeneration—new nerve endings are hypersensitive
- Skin tightening—new skin contracts as it heals, creating tension
- Dryness—healing skin loses moisture faster than normal skin
The Dangers of Scratching
Scratching a healing tattoo can cause:
- Ink loss—fingernails can pull scabs and flakes prematurely, removing ink from the dermis
- Infection—fingernails harbor bacteria that can introduce infection
- Scarring—breaking healing skin creates scar tissue
- Patchy healing—uneven damage leads to uneven color retention
Safe Itch Relief Strategies
When the itch hits, try these alternatives to scratching:
Immediate relief:
- Slap the area lightly—the sensation interrupts the itch signal without damaging skin
- Apply a cool, clean compress—cold temperature numbs nerve endings
- Press firmly around (not on) the tattoo—pressure satisfies the sensation need
- Blow cool air on it—a hair dryer on cool setting can help
Ongoing management:
- Moisturize more frequently—dry skin itches more; apply unscented lotion 3-4 times daily
- Take an antihistamine—over-the-counter options like Benadryl can reduce histamine-driven itching (ask your doctor first)
- Stay cool—heat makes itching worse; keep the tattoo cool and ventilated
- Wear loose, soft clothing—friction irritates healing skin
- Distract yourself—itching peaks and passes; focus on something else for 10 minutes
Products that help:
- Unscented lotion—Cetaphil, Lubriderm, Aveeno (apply frequently)
- Tattoo-specific aftercare—some brands include anti-itch ingredients
- Cooling sprays—witch hazel or tattoo-specific cooling mists (use sparingly)
When to Contact Your Artist About Itching
While most itching is normal, contact your artist if:
- Itching is accompanied by a rash or hives (possible allergic reaction)
- The itch is unbearable even with antihistamines
- You notice small blisters or bumps (possible infection or allergy)
- The itching gets worse after day 14 instead of better
 Tattoo gentle washing technique
Warning Signs of Infection: When Peeling Isn't Normal
Most tattoo complications are actually just normal healing that looks scary. But infection is real, and catching it early can prevent serious problems.
Normal vs. Abnormal: A Side-by-Side Comparison
| Normal Healing | Possible Infection |
|---|---|
| Mild redness close to tattoo edges | Redness spreading outward from tattoo |
| Slight warmth | Hot to the touch |
| Clear or light yellow plasma | Thick yellow, green, or brown pus |
| Mild, manageable pain | Increasing pain after day 3-4 |
| No odor or mild skin smell | Foul, unpleasant odor |
| Feeling normal overall | Fever, chills, or feeling ill |
| Small scabs in heavy areas | Widespread thick scabs with fluid |
Specific Infection Warning Signs
Contact your artist or doctor immediately if you notice:
1. Spreading redness (erythema)
- Redness that extends beyond the immediate tattoo area
- The border of redness continues to expand day by day
- Red streaks extending from the tattoo (lymphangitis)
2. Heat
- The tattoo feels noticeably hot compared to surrounding skin
- Warmth that increases rather than decreases after day 3
3. Purulent discharge
- Thick, opaque fluid (yellow, green, or brown)
- Fluid that keeps reappearing after cleaning
- Crusts that are wet or weeping rather than dry
4. Increasing pain
- Pain that should be decreasing after day 2-3 but gets worse
- Sharp, throbbing pain rather than mild tenderness
5. Systemic symptoms
- Fever (temperature over 100.4°F / 38°C)
- Chills or sweating
- Feeling generally unwell or flu-like
- Swollen lymph nodes near the tattoo
Common Causes of Infection
Tattoo infections usually result from:
- Non-sterile equipment—unprofessional shops or DIY tattoos
- Poor aftercare—not washing properly, touching with dirty hands
- Environmental exposure—swimming, hot tubs, dirty environments
- Compromised immune system—diabetes, immunosuppression, illness
- Allergic reactions—sometimes mistaken for infection
What to Do If You Suspect Infection
Step 1: Don't panic. Contact your tattoo artist first—they've seen it all and can advise whether it looks like infection or normal healing.
Step 2: If your artist suspects infection, or if you have fever/systemic symptoms, see a doctor immediately. Don't wait.
Step 3: Follow medical treatment exactly. This usually involves antibiotics for bacterial infections.
Step 4: Document everything with photos for your artist and doctor.
Step 5: After infection clears, your artist may recommend a touch-up to restore any ink lost during the infection and healing process.
When to See a Doctor vs. Contact Your Artist
Knowing who to call saves time and gets you the right help faster.
Contact Your Tattoo Artist First For:
- Questions about normal healing appearance
- Concerns about scabbing
- Uncertainty about whether something looks right
- Advice on product reactions
- Questions about touch-ups after healing issues
Tattoo artists have seen thousands of tattoos heal. They can quickly identify normal versus abnormal and often provide reassurance or guidance without medical intervention.
See a Doctor (Urgent Care or Primary Care) For:
- Any signs of infection as described above
- Fever or systemic symptoms
- Rapidly worsening symptoms
- Suspected allergic reaction (hives, severe swelling, difficulty breathing)
- Red streaks extending from the tattoo
- Severe pain not manageable with over-the-counter medication
Go to Emergency Room For:
- Difficulty breathing or swallowing (severe allergic reaction)
- High fever with confusion
- Rapidly spreading redness with severe pain
- Signs of sepsis (extreme fatigue, rapid heartbeat, confusion)
These are rare with tattoos, but knowing when to escalate matters.
Preparing for Your Medical Visit
If you see a doctor about your tattoo:
- Tell them it's a new tattoo and when you got it
- Bring photos of what it looked like when fresh
- List all products you've used on it
- Note when symptoms started and how they've progressed
- Mention any underlying health conditions
 Tattoo aftercare products
Frequently Asked Questions
Is it normal for my tattoo to look faded during peeling?
Yes, completely normal. Tattoos look their dullest during the peeling phase (days 7-14). The top layer of skin creates a "milky veil" over the ink. Once peeling completes and the skin fully regenerates (weeks 3-4), the vibrancy returns. If your tattoo still looks faded after 6 weeks, you may need a touch-up.
Can I wash my tattoo while it's peeling?
Absolutely—keep washing. Gently wash your tattoo 2-3 times daily throughout the peeling phase. Use unscented soap and your fingertips only. Don't scrub or try to remove peeling skin—let water run over it and pat dry. Peeling skin that comes off during washing is ready to come off; attached skin should stay.
What happens if I accidentally pick off a scab?
Don't panic, but don't make it a habit. If a scab comes off accidentally, gently wash the area, pat dry, and apply a thin layer of unscented lotion. The area may look lighter or patchy—that's normal and can often be fixed with a touch-up after healing. The key is not to keep picking at it.
Why is my tattoo peeling in some spots but not others?
Totally normal. Different areas of skin heal at different rates based on:
- Skin thickness—areas with thicker skin (thighs, back) may peel slower
- Ink density—heavily shaded areas often peel first
- Movement—areas that flex more (elbows, knees) may have different peeling patterns
- Aftercare consistency—spots that got more product or washing may heal differently
How long does the peeling phase last?
Typically 7-10 days, starting around day 4 and tapering off by day 14. However, every body is different. Some people peel lightly for just 3-4 days; others have flaking for 2+ weeks. Larger tattoos with more ink may peel longer than small, simple pieces.
Can I put lotion on peeling tattoo skin?
Yes—switch to lotion as peeling begins. Once peeling starts (around day 4-5), transition from heavy ointment (Aquaphor, A+D) to lighter, unscented lotion (Lubriderm, Cetaphil). Apply a thin layer 2-3 times daily. Don't over-moisturize—if the skin is greasy or shiny, use less.
Is it normal for my tattoo to bleed during peeling?
Light bleeding on days 1-3 is normal. Bleeding after day 3-4 is not typical and may indicate you've picked at scabs, the tattoo is too dry and cracking, or there's another issue. If your tattoo bleeds during the peeling phase without provocation, contact your artist.
Conclusion: Trust the Process (But Know the Warning Signs)
Tattoo peeling and scabbing is ugly, itchy, and anxiety-inducing—but it's also temporary and necessary. Your body knows how to heal; your job is to support that process without interfering.
Remember the key principles:
- Don't pick, scratch, or peel—let everything fall naturally
- Keep it clean—gentle washing throughout the healing process
- Switch from ointment to lotion—as peeling begins
- Watch for warning signs—spreading redness, heat, pus, or fever
- Be patient—full healing takes 4-6 weeks, not 4-6 days
Most "problems" people worry about during the peeling phase are completely normal. The tattoo that looks patchy and dull on day 10 will look vibrant and crisp on day 30—if you let it heal properly.
If you're planning your next piece, use our AI Tattoo Generator to visualize ideas before committing. And remember: every tattoo you've ever admired went through this same ugly duckling phase. The difference between tattoos that heal beautifully and those that don't isn't luck—it's patience and proper aftercare.
Got questions about the earlier healing stages? Our complete tattoo aftercare guide covers day-by-day care from bandage removal through the peeling phase and beyond.